Setting Up Your Bilflo Account (Invitation Guide)
When your company adds you to Bilflo, you’ll get an email invitation to create your account. Here’s how to set it up.
1. Open the invite email
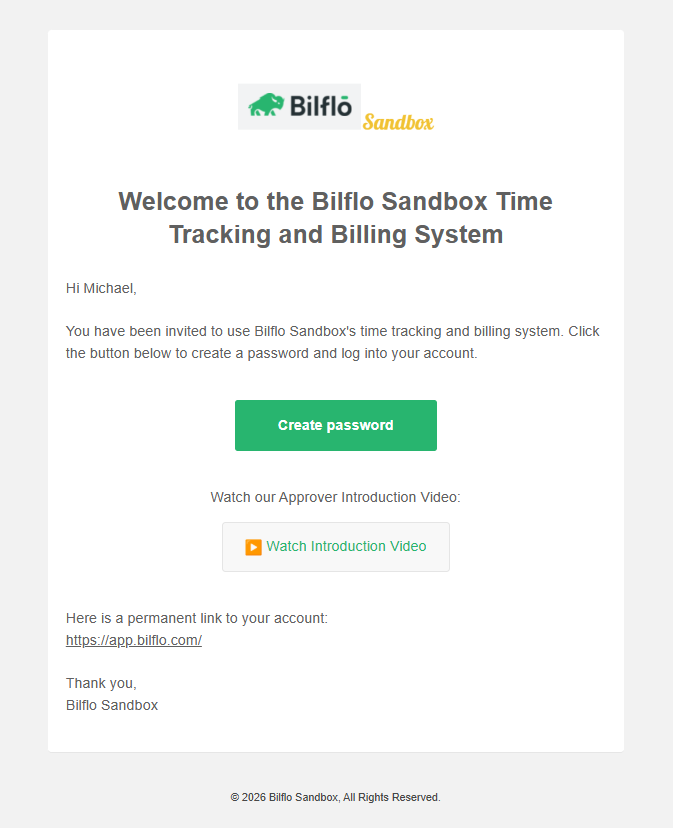
Look for an email titled “Welcome to the [Company] Time Tracking and Billing System.” Click the link inside to get started.
(Can’t find it? Check your spam folder, or ask your Bilflo administrator to resend the invite.)
2. Create your password

The link opens a “Create Your Password” page that already shows your name and email. Enter a password and confirm it.
Your password must have:
- At least 6 characters
- One uppercase letter
- One lowercase letter
- One number
- One special character (like
! @ # $ %)
The page checks each requirement as you type, so you’ll see when your password is good to go.
3. Click “Create Password”
Once your passwords match and meet the requirements, click Create Password. Your account is now active.
4. Log in (app.bilflo.com)
Go to your Bilflo login page, enter your email and new password, and you’re in. From here you can start using your portal (for example, reviewing and approving timecards).
A few good things to know
- The invite link is personal to you — don’t forward it. It signs you in to set your own password.
- Need a new link? Your administrator can resend your invite at any time, and you’ll get a fresh email.
- Already have an account? You don’t need a new invite — just log in and use Forgot Password if you can’t remember it.
Want me to save this alongside the approval guide, or tweak the wording for a specific audience (contractors vs. client contacts)? Just let me know.